Embarking on the journey of installing epoxy flooring? You’re in the right place. This guide unveils the intricate Step-by-Step Epoxy Flooring Installation Process, ensuring a seamless transformation of your space. From preparation to finishing touches, dive into the world of epoxy flooring with confidence.
Understanding Epoxy Flooring
Epoxy flooring is a durable and aesthetic choice for various spaces. Explore the versatility of epoxy and its transformative impact on surfaces.
What is Epoxy Flooring?
Epoxy flooring is a resilient solution formed by mixing epoxy resin and hardeners. It creates a durable, smooth, and glossy surface, ideal for garages, kitchens, and commercial spaces.
Advantages of Epoxy Flooring
Uncover the benefits, from resistance to chemicals and moisture to easy maintenance, making epoxy a preferred flooring option.
Preparing for Installation
Assessing the Surface
Ensure a flawless finish by evaluating the existing surface. From concrete to wood, understand the nuances for a successful epoxy application.
Gathering Materials and Tools
Discover the essential tools and materials required for the installation process. A well-prepared toolkit is the key to a smooth installation.
Step-by-Step Epoxy Flooring Installation Process
Surface Preparation
Prepare the substrate meticulously, addressing any cracks or imperfections. A clean canvas ensures optimal adhesion and longevity.
Applying the Primer
Lay the foundation with a high-quality epoxy primer. This crucial step enhances adhesion and promotes a seamless, long-lasting finish.
Mixing Epoxy Resin and Hardener
Achieve the perfect blend by accurately mixing epoxy resin and hardener. This concoction sets the stage for a robust and resilient flooring surface.
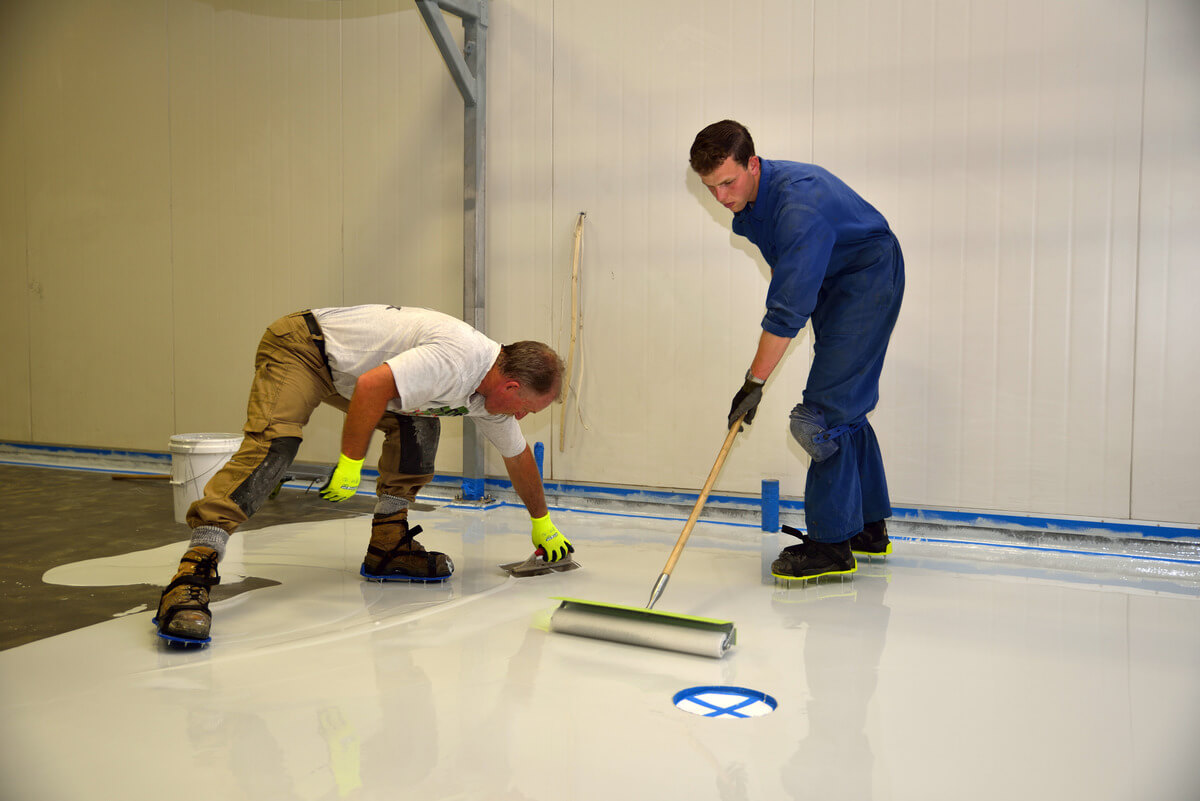
Spreading the Epoxy
Master the art of spreading epoxy evenly. Learn the techniques for a smooth and level surface, avoiding bubbles or uneven spots.
Adding Decorative Elements (Optional)
Elevate your space by incorporating decorative elements into the epoxy mixture. From color pigments to flakes, personalize your flooring.
Curing Time
Patience is key. Understand the curing time required for the epoxy to set and harden adequately. Rushing this step may compromise the overall quality.
Applying a Top Coat
Seal the deal with a protective top coat. This final layer adds an extra layer of durability and enhances the glossy finish.
Maintenance Tips
Cleaning and Regular Care
Discover the secrets to maintaining your epoxy flooring’s pristine look. From routine cleaning to preventive measures, keep your investment shining.
Addressing Common Issues
Troubleshoot common problems like scratches or dullness. Proactive measures ensure your epoxy flooring retains its beauty for years to come.
Additional Tips for a Flawless Finish
Temperature Considerations
Be mindful of the ambient temperature during installation. Ideal conditions ensure proper curing and a flawless finish.
Ventilation Importance
Ensure proper ventilation during the installation process. Adequate airflow aids in the curing of epoxy and prevents unwanted fumes.
Thickness Matters
Follow recommended guidelines for epoxy thickness. Applying the right amount ensures durability and longevity of your flooring.
Troubleshooting Guide
Dealing with Bubbles
Discover effective techniques to eliminate or prevent bubbles during the epoxy application. Attention to detail is crucial for a bubble-free finish.
Tackling Uneven Surfaces
Address uneven spots with finesse. Understand how to level the epoxy for a consistent and aesthetically pleasing result.
Eco-Friendly Options
Environmentally Conscious Epoxy
Explore eco-friendly epoxy options for those looking to minimize their environmental impact. Green alternatives can provide a beautiful floor without compromising sustainability.
FAQs (Frequently Asked Questions)
How long does the Step-by-Step Epoxy Flooring Installation Process take?
The timeline varies based on factors like surface preparation and curing times. On average, expect the process to span a few days.
Can I install epoxy flooring on any surface?
Epoxy is versatile but requires proper surface preparation. Concrete is the most suitable, but wood and certain tiles can also accommodate epoxy with the right preparation.
Is epoxy flooring resistant to chemicals?
Yes, one of the notable advantages of epoxy flooring is its resistance to various chemicals, making it ideal for garages and industrial spaces.
Can I add patterns or designs to my epoxy flooring?
Absolutely! Incorporate creativity by adding patterns, flakes, or even logos to personalize your epoxy flooring.
How do I repair scratches on epoxy flooring?
Minor scratches can be fixed with a touch-up kit. For deeper scratches, consult a professional for seamless repairs.
Is epoxy flooring suitable for residential kitchens?
Yes, epoxy flooring’s durability and resistance to stains make it an excellent choice for residential kitchens.
Conclusion
Congratulations! You’ve mastered the Step-by-Step Epoxy Flooring Installation Process. Transform your space with confidence, armed with the knowledge to create a durable, stunning, and long-lasting epoxy floor.