Introduction
The letter H is the eighth letter of the letters all together, and it’s a to some degree consistently elaborate letter as well. The lowercase and capital variations of the letter are extremely extraordinary, yet nor are that difficult to sort out some way to form. Learn this bubble letter H drawing blog and visit the more Nature and landscape drawing.
You likely expertise to form the two designs, yet you can make this letter fundamentally more clowning around by changing it into an bubble letter H! This can be much trickier than essentially sorting out some way to make the letter, yet that is what this guide is here to help with.
After these 6 horseplay and straightforward errands, you will really need to draw an bubble variation of this letter without any problem. We will in like manner cover a couple of fun ways you can modify your letter at whatever point it’s done.
Stage 1: Bubble Letter H Drawing
In text, the letter H is extremely direct, as it is contained three related lines. In case you use your imaginative psyche, it appears like someone doing a handstand. Since it’s so natural to create, we would propose doing that to set yourself up. To do this, we would propose finding the lightest pencil you can.
Sort out the letter H in a tremendous size, and a short time later you can include that as the skeleton of your drawing. Then, we will begin the bubble variation with a twisted line. This twisted line will shape the upper left-hand ‘arm’ of the letter. The reference picture will show you what it resembles and how it twists down.
Stage 2: Bubble Letter H Drawing
Then, at that point, we will finish the entire left 50% of the letter H we are drawing. This will be done by extending the twisted line you began in a state of harmony 1. The primary in class will curve and loosen up plummeting while the base will connect up. This will achieve a shape that is by all accounts a frank. As you will find in the reference picture, there will be a little opening on the right 50% of the shape. This is where the little platform of the letter will go in the ensuing stage.
Until further notice, you have the left 50% of the H complete. If you drew the letter H out in pencil, you can see where this is going. Endeavor to make the shape twisted like our own in the reference picture. We’re endeavoring to avoid any altogether straight lines, as need might arise to cause it to appear to be an bubble.
Stage 3: Bubble Letter H Drawing
This third step of your bubble letter H drawing will see you adding the little framework between the two pieces of the letter. Right when you look at a standard letter H, the expansion is totally straight. As we referred to in the past step, we really want to avoid any straight lines.
Consequently, we will draw the framework using two changed lines taking everything into account. These two lines will fill the opening in the shape we spent the underlying two phases drawing. You will similarly observe that these lines widen a piece inside the shape we made. This could look a piece particular now, yet you will see the manner in which it makes this shape appear to be an bubble later.
Stage 4: Bubble Letter H Drawing
In the underlying two phases of this associate, you worked on making the left 50% of the letter H. In this step, we will do what you did in those methods but simultaneously. Essentially, you can repeat what you did in those means basically in switch. In case you have an uplifting perspective on drawing the right 50% of the H, you can go ahead and add it as it appears in our model.
If you need a bit more help, simply follow the underlying two phases again. You could mirror the photos with the objective that they will show you how the means should be done in reverse. In any case you end up making it happen, you will as of now have an all out design for this letter H! If you drew a standard H with your pencil, you won’t need it any longer after this step.
Stage 5: Bubble Letter H Drawing
As of now you are ready to make the double dealing of this H being produced using an bubble or an inflatable! How we will do this will be clear yet effective. In the first place, we will draw two level oval shapes. These will be put at the most elevated mark of each arm of the letter H. They shouldn’t even mess around with to be superb ovals, so don’t pressure significantly over keeping your hand steady. The idea is that they will seem like light is contemplating the external layer of the letter.
Whenever that is done, we will add a couple of lines to cause it to appear to be like the H is produced using an bubble or a plastic inflatable. How we will do this will be by characterizing a couple of limits along the inner lines of the system. This will cause it to seem like the material the H is made of has some air pushing out from inside it.
Stage 6: Bubble Letter H Drawing
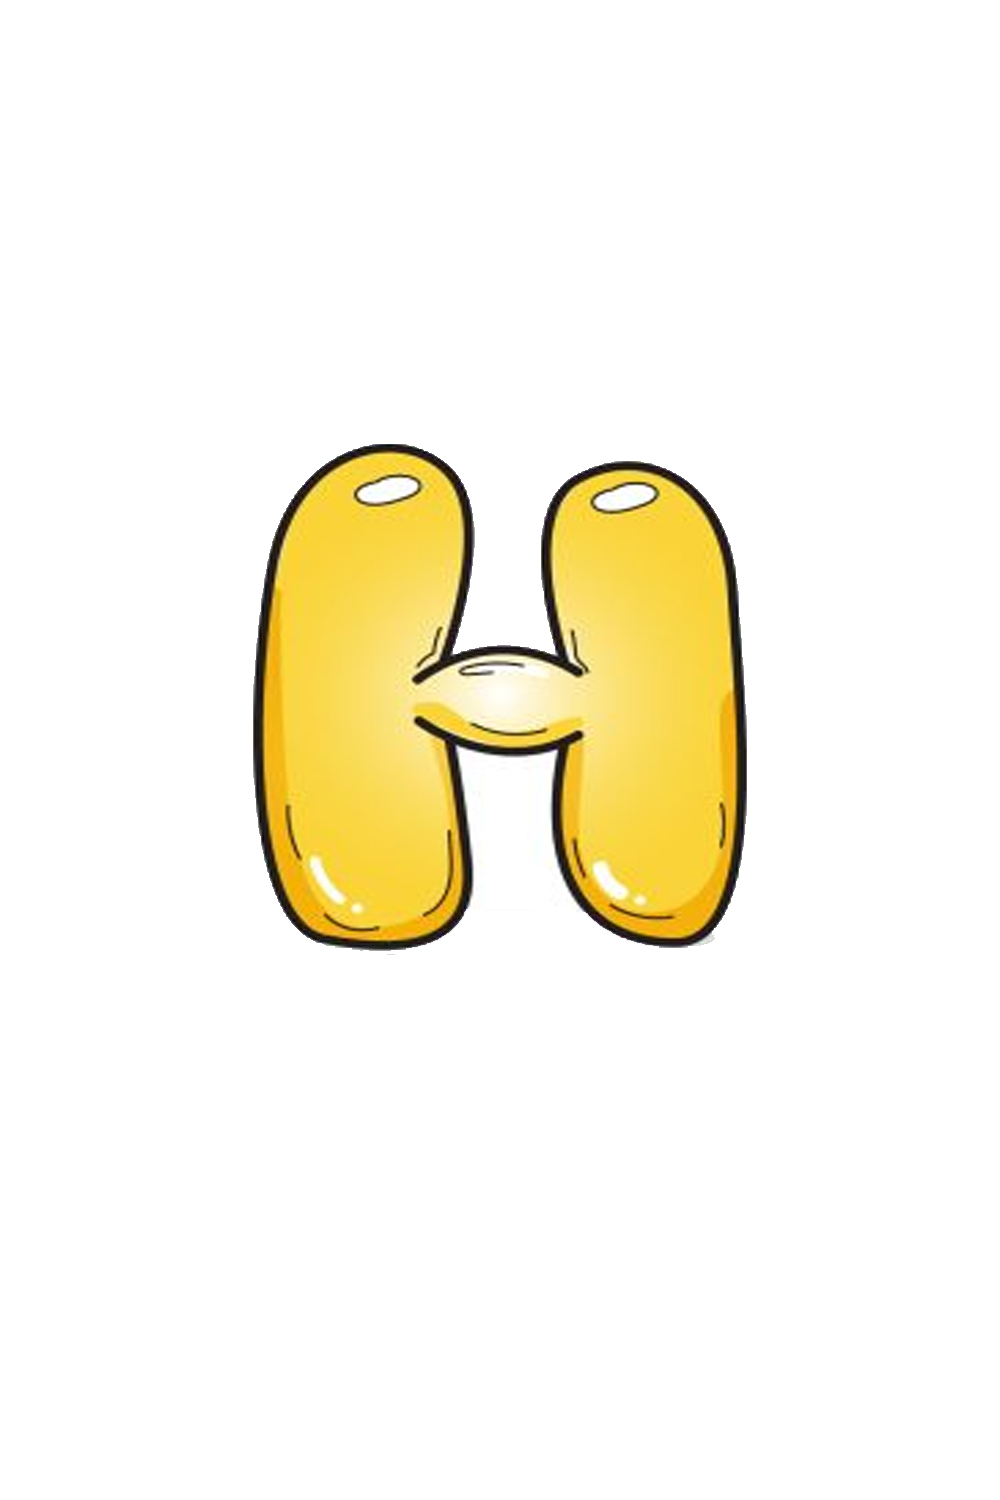
This moment is the best opportunity to get your #1 concealing contraptions out, as we will revive this drawing with some tone! In our model, we picked a yellow assortment plot for this H.
In case you like the way this yellow arrangement looks, you can endeavor to imitate it with your concealing devices. We made a couple of locales lighter to furthermore make the energy of light reflecting. This is a fair technique to cause it to appear like this H is created utilizing an inflatable. Notwithstanding, there are so many various tones you could go for taking everything into account!
Also Read tecno week