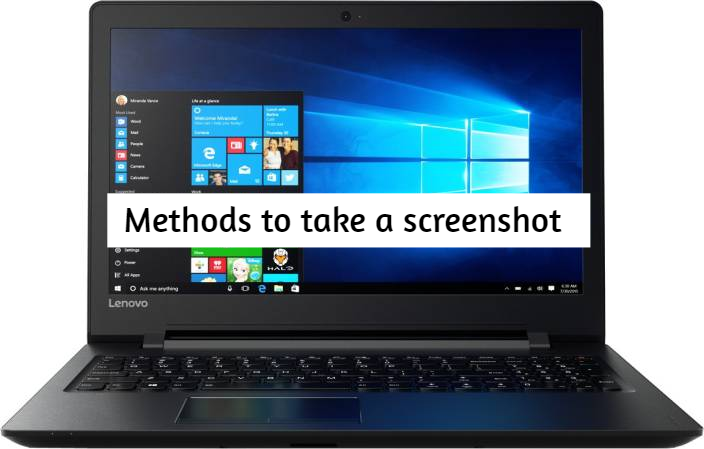
In today’s digital age, knowing how to take a screenshot on your Lenovo laptop is an essential skill. Whether you’re a student, a professional, or just an average user, capturing what’s on your screen can be incredibly useful for sharing information, troubleshooting, or simply preserving a moment. In this comprehensive guide, we’ll walk you through various methods to screenshot on a Lenovo laptop, catering to different scenarios and preferences.
Introduction
When it comes to taking screenshots on your Lenovo laptop, you have several methods at your disposal. Depending on your needs, you can opt for a quick full-screen capture, focus on a specific window, or even take more precise snips of content. In the following sections, we’ll delve into each method with step-by-step instructions and relevant screenshots to guide you seamlessly through the process.
Method 1: Using the Print Screen (PrtScn) Key
The most straightforward way to capture your screen on a Lenovo laptop is by using the Print Screen key, often abbreviated as PrtScn. This key can be found on the upper-right corner of your keyboard, typically next to the F12 key. To capture the entire screen, press the PrtScn key. The screenshot will be copied to your clipboard.
Method 2: Capturing the Active Window
At times, you might want to capture only the active window rather than the entire screen. To achieve this on your Lenovo laptop, follow these steps:
- Bring the window you want to capture to the forefront.
- Press Alt + PrtScn together.
- The screenshot of the active window will be copied to your clipboard.
Method 3: Snipping Tool
Lenovo laptops running on Windows operating systems come equipped with a handy tool called Snipping Tool that allows you to capture specific portions of your screen. Here’s how to use it:
- Search for Snipping Tool in the Windows search bar and open the application.
- Click on the New button to initiate a snip.
- Select the area you want to capture using the cursor.
- Once captured, the snipped screenshot will open in the Snipping Tool interface, where you can annotate or save it.
Method 4: Snip & Sketch Tool
For Windows 10 users, the Snip & Sketch tool offers an enhanced snipping experience. To utilize this tool on your Lenovo laptop, follow these steps:
- Search for Snip & Sketch in the Windows search bar and open the application.
- Click on New to start a snip.
- Select the area you want to capture.
- After capturing, you’ll be directed to the Snip & Sketch editor, where you can add annotations and make modifications.
Method 5: Third-Party Applications
If you’re looking for more advanced screenshot capabilities, numerous third-party applications are available for download. Some popular options include Snagit, LightShot, and Greenshot. These tools offer additional features such as screen recording, delayed captures, and built-in editing tools.
Choosing the Right Screenshot Method for You
The method you choose depends on your specific requirements. If you need a quick snapshot of your entire screen, the Print Screen key does the job. For capturing individual windows, Alt + PrtScn is the way to go. Users desiring more flexibility and precision might prefer the Snipping Tool or Snip & Sketch. And for those seeking advanced features, third-party applications offer a plethora of options.
Tips for Enhancing Your Screenshot Experience
Choose the Right Tool:
- Use built-in screenshot tools on your device, such as Snipping Tool (Windows), Grab (macOS), or the screenshot shortcuts on smartphones.
- Consider third-party screenshot applications for advanced features and customization.
Know Your Shortcut Keys:
- Learn the keyboard shortcuts for taking screenshots on your specific operating system. For example, on Windows, you can use PrtScn or Win + Shift + S.
Capture the Entire Screen or a Region:
- Depending on your needs, take full-screen screenshots or capture specific regions by selecting only what’s relevant.
Use Annotations:
- Annotate your screenshots with text, arrows, shapes, and highlights to convey your message more clearly. Most screenshot tools have built-in annotation features.
Organize Your Screenshots:
- Create a folder structure to categorize and store your screenshots for easy retrieval when needed.
Name Your Screenshots Descriptively:
- Give your screenshots meaningful names so you can quickly identify their content without having to open each one.
Adjust Image Quality and Format:
- Choose the right image format (e.g., JPEG, PNG) and quality to balance file size and image clarity.
Use Screenshot Shortcuts:
- Some screenshot tools allow you to define custom shortcuts or hotkeys for specific actions, making the process more efficient.
Consider Delayed Capture:
- If you need to capture pop-up menus or tooltips, use a delayed capture function to give yourself time to set up the shot.
Organize Your Screenshots:
- Use folders and tags to keep your screenshots organized and easy to find. Many screenshot tools offer this feature.
Backup Your Screenshots:
- Regularly back up your screenshot library to prevent accidental loss.
Automate the Process:
- Explore automation tools that can capture screenshots at scheduled intervals or based on specific triggers.
Edit and Crop:
- Use image editing software to crop and refine your screenshots for a polished look.
Share and Collaborate:
- Utilize cloud storage or sharing services to collaborate with others by sharing screenshots with links or through collaborative platforms.
Respect Privacy:
- Be cautious when sharing screenshots that contain sensitive or private information. Annotate or blur out such information before sharing.
Learn Keyboard Shortcuts for Popular Editing Tools:
- If you frequently edit your screenshots, learn keyboard shortcuts for popular image editing software like Photoshop or GIMP to speed up your workflow.
Practice and Experiment:
- Familiarize yourself with your screenshot tool’s features through practice. Experiment with different settings and options to find what works best for your needs.
Stay Updated:
- Keep your screenshot tool and operating system up to date to access the latest features and improvements.
Conclusion
In conclusion, knowing how to screenshot on Lenovo laptop is an invaluable skill that can simplify various tasks and enhance your digital communication. With the range of methods available, from the traditional Print Screen to the versatile Snip & Sketch, you’re equipped to capture anything from full screens to specific details. Experiment with different methods, discover what suits your workflow, and make the most out of your Lenovo laptop’s screenshot capabilities.